Sunday, September 5, 2010

Entertainment Center Finshed and Delivered!

Here are a couple pictures of the pieces with just 3 coats of finish on them:


I put all three pieces on dollys so that I could easily move them to and from the finish room and the assembly area. In the next picture you can see the grommets I used to route the cables into the unit. They worked out really nice.


I got the finish put on the entertainment center and delivered it this past weekend. After putting the stain on the piece, I used Minwax wipe-on polyurethane. It dries fairly quickly, so two coats can be put on per day. Another advantage: no brush marks. Between coats I started with 220 grit sandpaper, then went to 320, 400, and then 600 grit before the final coat of finish. I ended up putting a total of six coats on the exterior, touchable parts of the unit, and four coats on all the other parts.

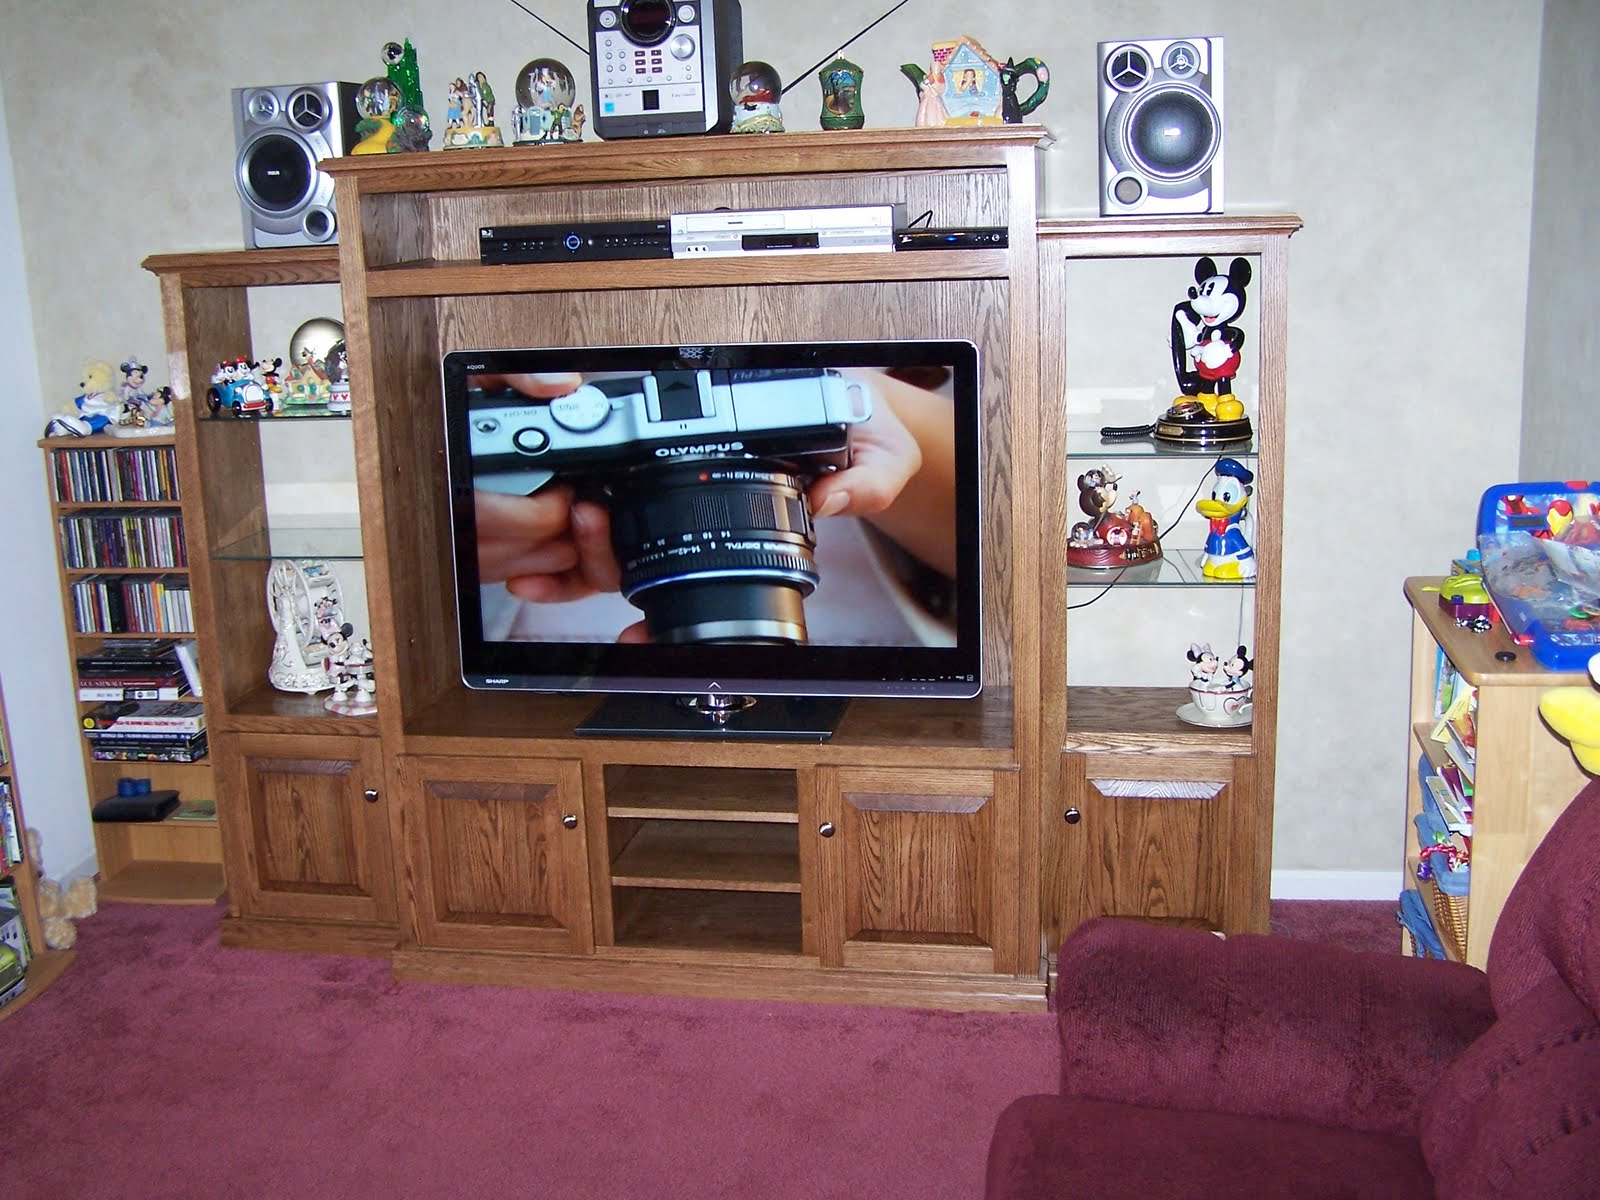
Everything went together well at the customer's house. I had a little trouble aligning the bookcases with the main unit, but I built the unit in perfect alignment, so I knew everything would like up eventually. I used "knock-down" fasteners to connect the bookcases to the main unit and they worked very well. The glass shelves, from McGrane glass, fit the bookcases nicely too. Here are a couple pictures of the unit installed at the customer site:


[Too funny! I just got off the phone with my son. Turns out he just accepted a new position with Lincoln Financial, the company with Lincoln's head as their trademark! It was just a coincidence that I caught their ad on Patrick's new TV!]

Nice TV too! It's a Sharp Aquos LED unit.


Tuesday, August 24, 2010

Progress on the Entertainment Center

Here I am gluing up the oak boards which will become one of the sides of the main cabinet:


This next picture shows one of the bookcases getting its face frame glued onto the carcase:


Another photo of the bookcase:


Here the center unit is getting glued up. And people will look at my clamp rack and say, "Do you REALLY need ALL those clamps???"


There are around 20 clamps used for this glue-up!


Here's the first picture of the three units temporarily joined together using clamps:


And here's a more recent picture, with the top of each unit installed:


Next the backs will be installed on the lower part of the bookcases, and on the entire back of the main center unit. After that, the final sanding before the finish goes on. Glass shelves for the bookcases are on order and should be ready by Tuesday (8/24). Doors are in the works!

Monday, August 2, 2010

The Bookcases Get Assembled

The bookcases have been mostly put together. Backs still need to be added to the lower part of the unit (that part will also have a door, which will match the doors on the bottom of the main unit).


Next step is to get the main unit constructed, then I'll start working in the tops of each piece, then the doors.

Monday, July 19, 2010

The Entertainment Center

I got a call from a friend who just bought a new big screen tv and needed an entertainment center for it. So I drew up some designs and we went back and forth on dimensions, before settling on a final design. The unit would house the TV, a sound system, a cable/satellite receiver and a DVD player. He also wanted room on the side for general display space. Red oak was to be used for strength and durability. So it was on to the lumber store for some oak:


Do you see the entertainment center hiding in those oak boards? I do, and it's going to be a work of art when it's all done! By the way, it's going to take more than these six boards to build it!

When I build cabinets, I like to make the face frames first, then work my way back to the other pieces which attach to it. Here's a look at the face frames for this project:


These are the face frames for the "bookcase" units that will attach to either side of the main tv unit. They will have a door at the bottom, and provision for glass shelving in the upper part of the bookcase.

Here's a look at the face frame for the main tv unit:


Wow, that's one big face frame! 54" wide by 68" high to be exact! The lower part of this unit will have two doors, and an area in between the doors which will be open (for "clicker" visibility).

I decided to make the sides of the cabinet out of solid oak, although I usually use oak plywood. I was going for maximum strength, and durability in case of an occasional ding. For the bookcase units, I glued-up two pieces of oak to get the full width I needed:


In my next posting I'll post images of the pieces coming together. The plan is to assemble the three pieces, join them together, and finish applying the moldings. Then I'll disassemble the pieces and finish them separately. The units will be joined back together upon delivery at their new home.

Tuesday, April 6, 2010

Ta-Da: They're D-O-N-E!!!!!!!!

The two end tables and occasional table are now done! Just picked up the glass today for the occasional table.


A picture of the trio:


Nice drawer!


I am still waiting for the customer to pick out a couple of knobs for the drawers on the end tables. Table delivery in a couple weeks.

Sunday, March 28, 2010

First Coat of Finish

I put the first coat of finish on the end tables. I figure it will take 2-3 coats on the parts unseen by the user, and 5-6 coats on the parts which are exposed to touching and spills.


Saturday, March 20, 2010

More Progress

I finally got around to building a jig for making accurate miter cuts: a miter sled. It's basically a piece of plywood with wood framing attached at a perfect 45 degree angle to the saw blade. Under the sled, there are "miter sliders": aluminum bars which fit tightly into the miter slots on the table saw surface. These sliders are specially designed so that they can be adjusted to tightly fit into the miter slots. This is critical in getting accurate and repeatable cuts.


I used a piece of our old kitchen countertop for the sled base. It worked well, it was a 3/4" piece of particleboard with formica laminated to the surface. Way better than just sending it to the landfill. The red aluminum strips in the photo are pieces of "T-track". Handy stuff, you can mount it to the sled, then use a 10-24 bolt to fasten all kinds of helpers to the jig. In the picture you can see I have hold downs placed in the T-track, to keep the wood from moving when the cut is being made.


After cutting the 4 pieces for the Occassional Table top, I used the biscuit joiner to make cuts into each joint. I am using picture frame clamps to keep things squeezed tightly together, and square, while the glue dries:


A close up of the clamps and one corner of the table top:


After routing the edge and an initial sanding, the top is looking good!